This is what I want to share for this Historical Food Fortnightly Challenge. Can you guess what it is? The strawberries? That's a good guess! What I want to share is something that adds so much to foods through the growing seasons - preserved herbs.
The book I continue to use is Twenty Lessons in Domestic Science by Marian Cole Fisher Copyright 1916.
Lesson 15 is completely devoted to herbs. Descriptions of the herb, how to find it, how to use it, how to mix them, and finally a tiny paragraph on preserving.
The herb most available to me today is not discussed in the lesson, but it is preserved like so many others and adds a beautiful flavor and look to foods - chives. These delicately flavored herbs are related to the onion and grow from a small white bulb in the soil. They can be gathered over and over through the season and will return year after year without attention. I know because the chives, rosemary, and a few hardy basil are all that have survived from last year's herb planting.
Like all herbs for preserving, they are best gathered at the peak of freshness in the morning after the sun has dried any dew from the leaves. That is difficult in North Carolina this time of year as while the temperatures are in the 70s F., the humidity is 100%. So when I feel the chives are as dry as they will be before being baked by the sun, I cut them about an inch from the crown.
I take my harvest inside where I wash the chives and dry them between two towels.
At this point I could bundle them and hang them to dry. I could also put them into brown paper bags with air holes cut into the bag and let the chives dry while turning the bag to keep the chives from molding. The humidity again is problematic and I choose to take the rapid-dry approach with a brief time in a low oven.
I cut the chives into 1/4" snips and also cut about 1-1/2 tablespoons into smaller pieces for another project.
The chives are on a piece of parchment paper since they will lose their beautiful green color if they touch metal during the drying process. The oven is set to its lowest temperature of 170 degrees F.
While the chives are drying in the oven I use 4 tablespoons of softened butter and the reserved 1-1/2 tablespoon of snipped chives to make a chive butter.
I blend the butter and chives thoroughly and lay the chive butter on wax paper. I use the wax paper to form the butter into a small tube, twist the ends closed, and put it in the freezer to firm.
Just a short hour later my chives are dry in the oven. The time will be dependent on your oven and the water content of the chives. It can sometimes take up to three hours for the chives to dry sufficiently.
The chives are dry when they crumble easily.
Lift the dried chives with the parchment paper and funnel them into a wide-mouth jar.
Store them in a cool, dry, dark place and you will have beautiful green chives for flavor and color for many dishes until the next growing season.
Sunday will be Father's Day. Since I will be working out of town, I decide that today is a perfect day to grille a nice steak and serve a baked potato with fresh chive butter for my husband. It looks wonderful and the flavor was a big hit!
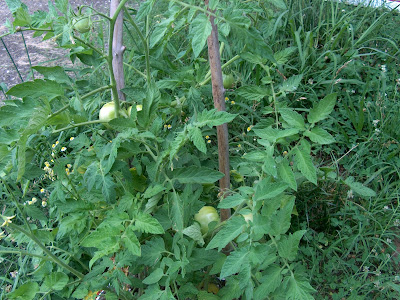
Not only is he a wonderful father, but he grows the best tomatoes and a few should be ready by the time I'm home from work next week. Yum!
Happy Father's Day!
Jeanette


No comments:
Post a Comment