
During my planning for the Historical Food Fortnightly Challenges for 2016 I realized that in the book I'm using: Twenty Lessons in Domestic Science by Marian Cole Fisher, copyright 1916, there are quite a few ingredients, methods, and terms that are a mystery to me.

One recipe and one ingredient in particular caught my eye for the History Detective Challenge.

As with any good detective work I start with what I already know.
During my freshman and sophomore years of high school I lived with a Finnish family in northern Wisconsin. If any culture knows about dairy foods, it's the Finns, and my host family was no different. We had dairy cows which meant fresh raw milk in large containers in the refrigerator. So rich it had to be stirred to combine the layer of cream into the rest of the milk.before we would pour it into large glasses for our meals. We also kept another large container in the refrigerator which was a mystery to me at the time but I have since learned it was piimä - a Finnish sour milk similar to buttermilk. Could that be the mystery ingredient in my recipe? I was in charge of the baking for the family and every Saturday made 12 loaves of fresh bread. I also made biscuits and remember using the piimä in the biscuits. So now I'm wondering why we didn't make cottage cheese as we were a very self-sufficient household with gardens, dairy cows, pigs, and chickens. Of course being a detective is easy when you have the sum total of the world's knowledge at your fingertips via your computer. If you are interested in the dairy foods of the Finns as I was, I'll share a good link here.
The next bit of detective work was with the subname of my recipe - Schmierkase. I learn this is a German word pronounded schmier-ka sa, literally "smear cheese" used to spread on bread or crackers. Some more internet work and I find recipes that make me believe this to be more of a cream cheese than a cottage cheese. So as I'm sharing this search with my husband, he informs me that in recipes that he has used specifying "sour milk" he uses regular milk with vinegar. Vinegar? Really? So I'm off to search more recipes through Mother Earth News and a host of websites I've used previously with information on cooking naturally. What I finally learn is that, truly, this recipe wants sour milk. But sour milk created from raw milk. Alas, I don't have a cow.
What I do have are a lot of people like me who would love to create their own cottage cheese with the ingredients we have on hand in 2016. I finally create a recipe of my own from bits and pieces offered from foodies around the world which will be, hopefully, similar to the 1916 recipe. I'll share that with you here because I'm going to make it again and again and hope you will enjoy it too. So here it is:
1916 Cottage Cheese With 2016 Ingredients
1 gallon 2% milk
1/2 cup vinegar
1 tsp salt
Warm milk over medium heat until 190 degrees. You can also watch milk closely and remove from heat just before it begins to boil. With milk removed from heat add vinegar, stir gently, and allow to cool. Pour into colander lined with double layer of cheesecloth and drain off whey. Pour curds into a bowl. Sprinkle with salt, mix gently. Just before serving you can add a little heavy cream or half-and-half for a silky texture.
That's it!! How simple is that? You really don't need a thermometer. You don't need cheesecloth either as I found recipes where the curds were simply poured into the colander. There were recipes to add dill, caraway seeds, fruits and nuts. There were recipes to use the cottage cheese in lasagna and pies.
One of the interesting pieces of information in the Twenty Lessons in Domestic Science book has been discovering how much was actually known 100 years ago about the function and principles of food, the composition of food, and how the different constituents of food were used in the body. Here is some information from the book relating to milk and cheese.


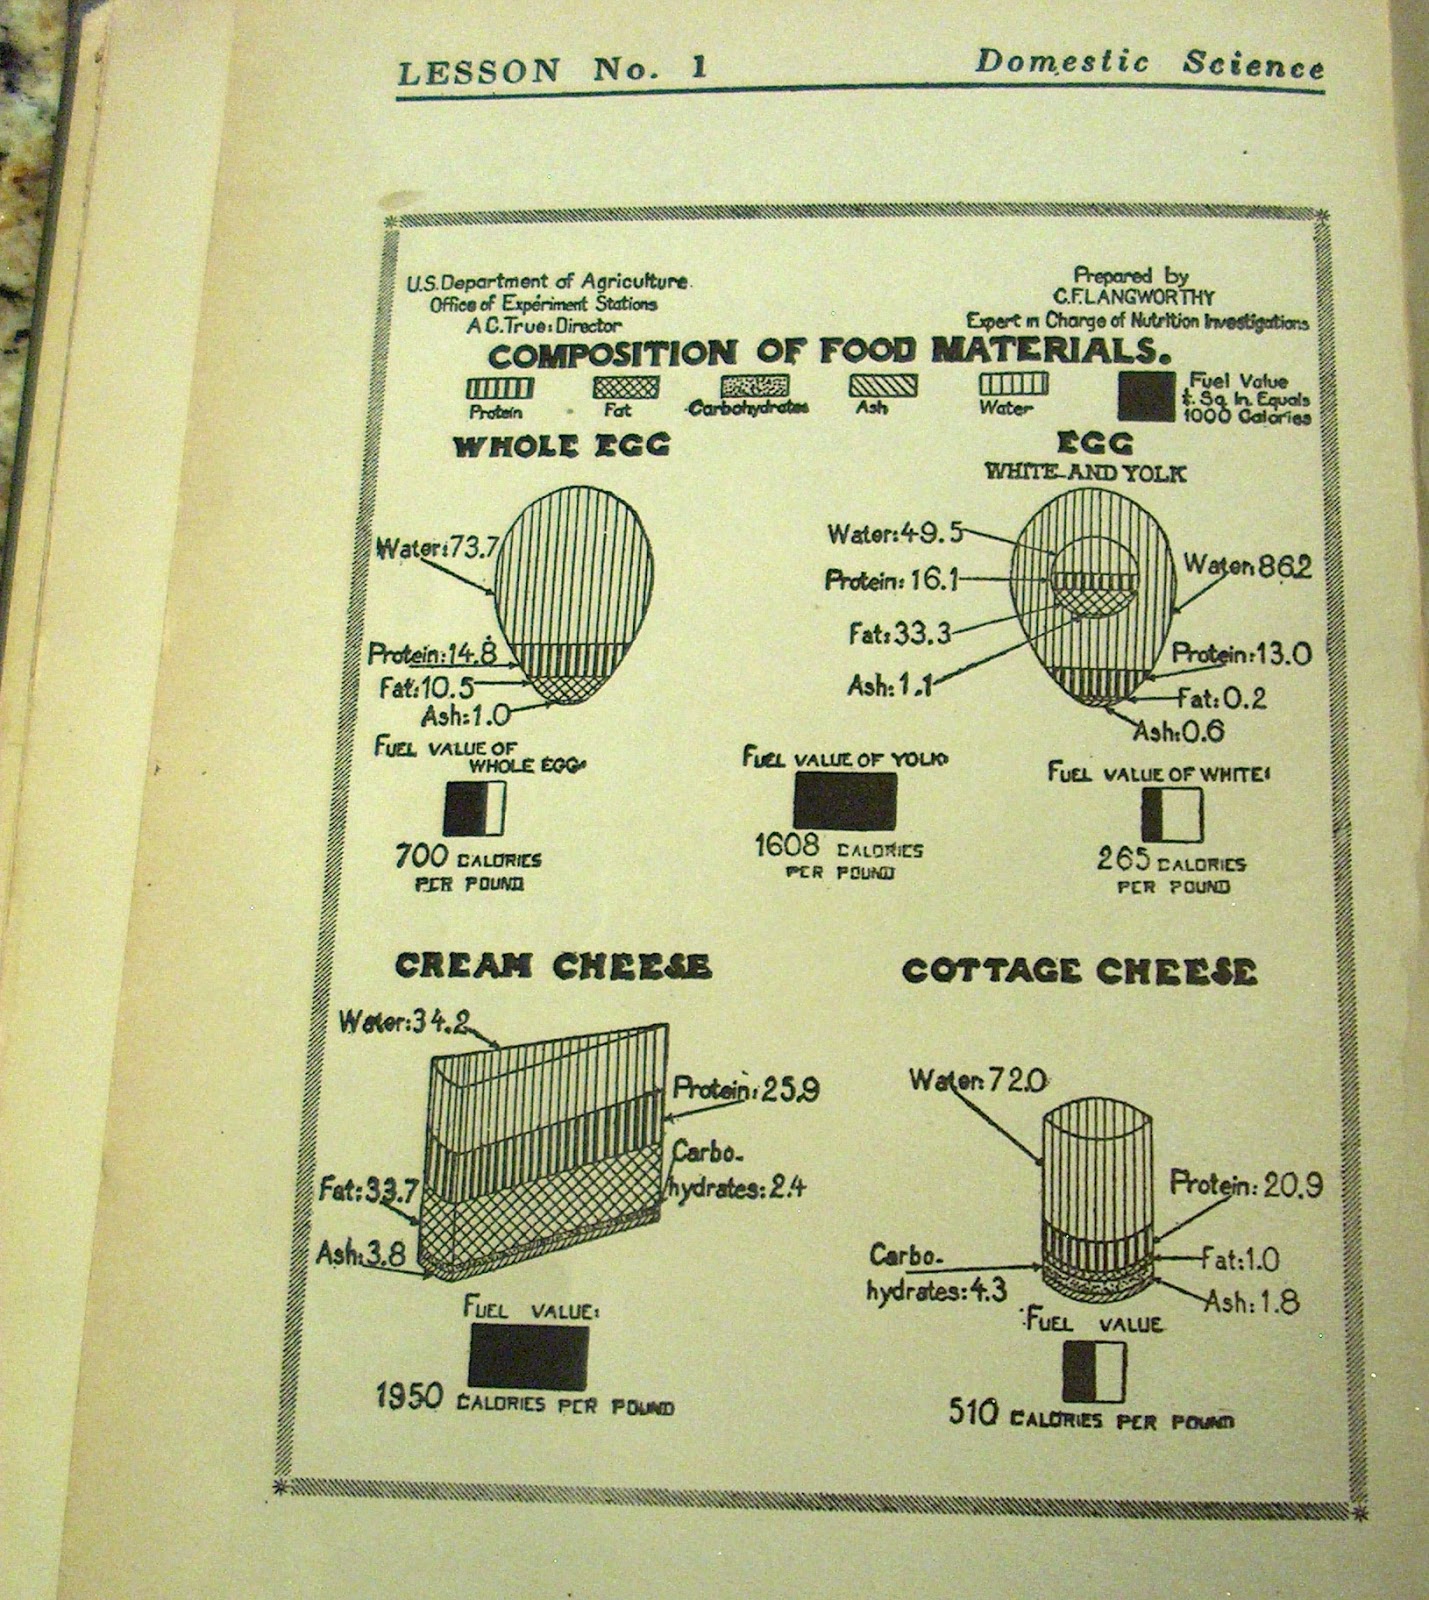
Amazing to see the ingredients of today's milk carton and see how correct the information was 100 years ago.

Here is the easy process to make your own most marvelous cottage cheese and spread. Enjoy!
 |
| Ingredients using a half gallon of whole milk. Didn't even follow my own recipe. Haha! |
 |
| Warm milk over medium heat until it reaches 190 degrees or just before boiling. |
 |
| Remove pan from heat and add vinegar. Stir gently. Only 1/4 cup for a half gallon of milk. |
 |
| Immediately the curds and whey start to separate. I start thinking about Little Miss Muffet. Do you know that nursery rhyme? |
 |
| Double layer of cheesecloth spread over colander placed inside glass bowl. |
 |
| Cooling. |
 |
| Separating during cooling. |
 |
| Pan is cool to touch and a lot of separation has taken place. |
 |
| Pour into the cheesecloth. |
 |
| The whey pours off first leaving those beautiful cheese curds! |

 |
| Draw up the sides of the cheesecloth to allow the remaining whey to drain. |
 |
| I put the colander over another bowl to allow the whey to drain some more. |
 |
| Once you are pleased with the consistency, it's time to add the salt. |
 |
| Yes, I tried some at this point and loved it! |
 |
| Salt added and stirred gently. |
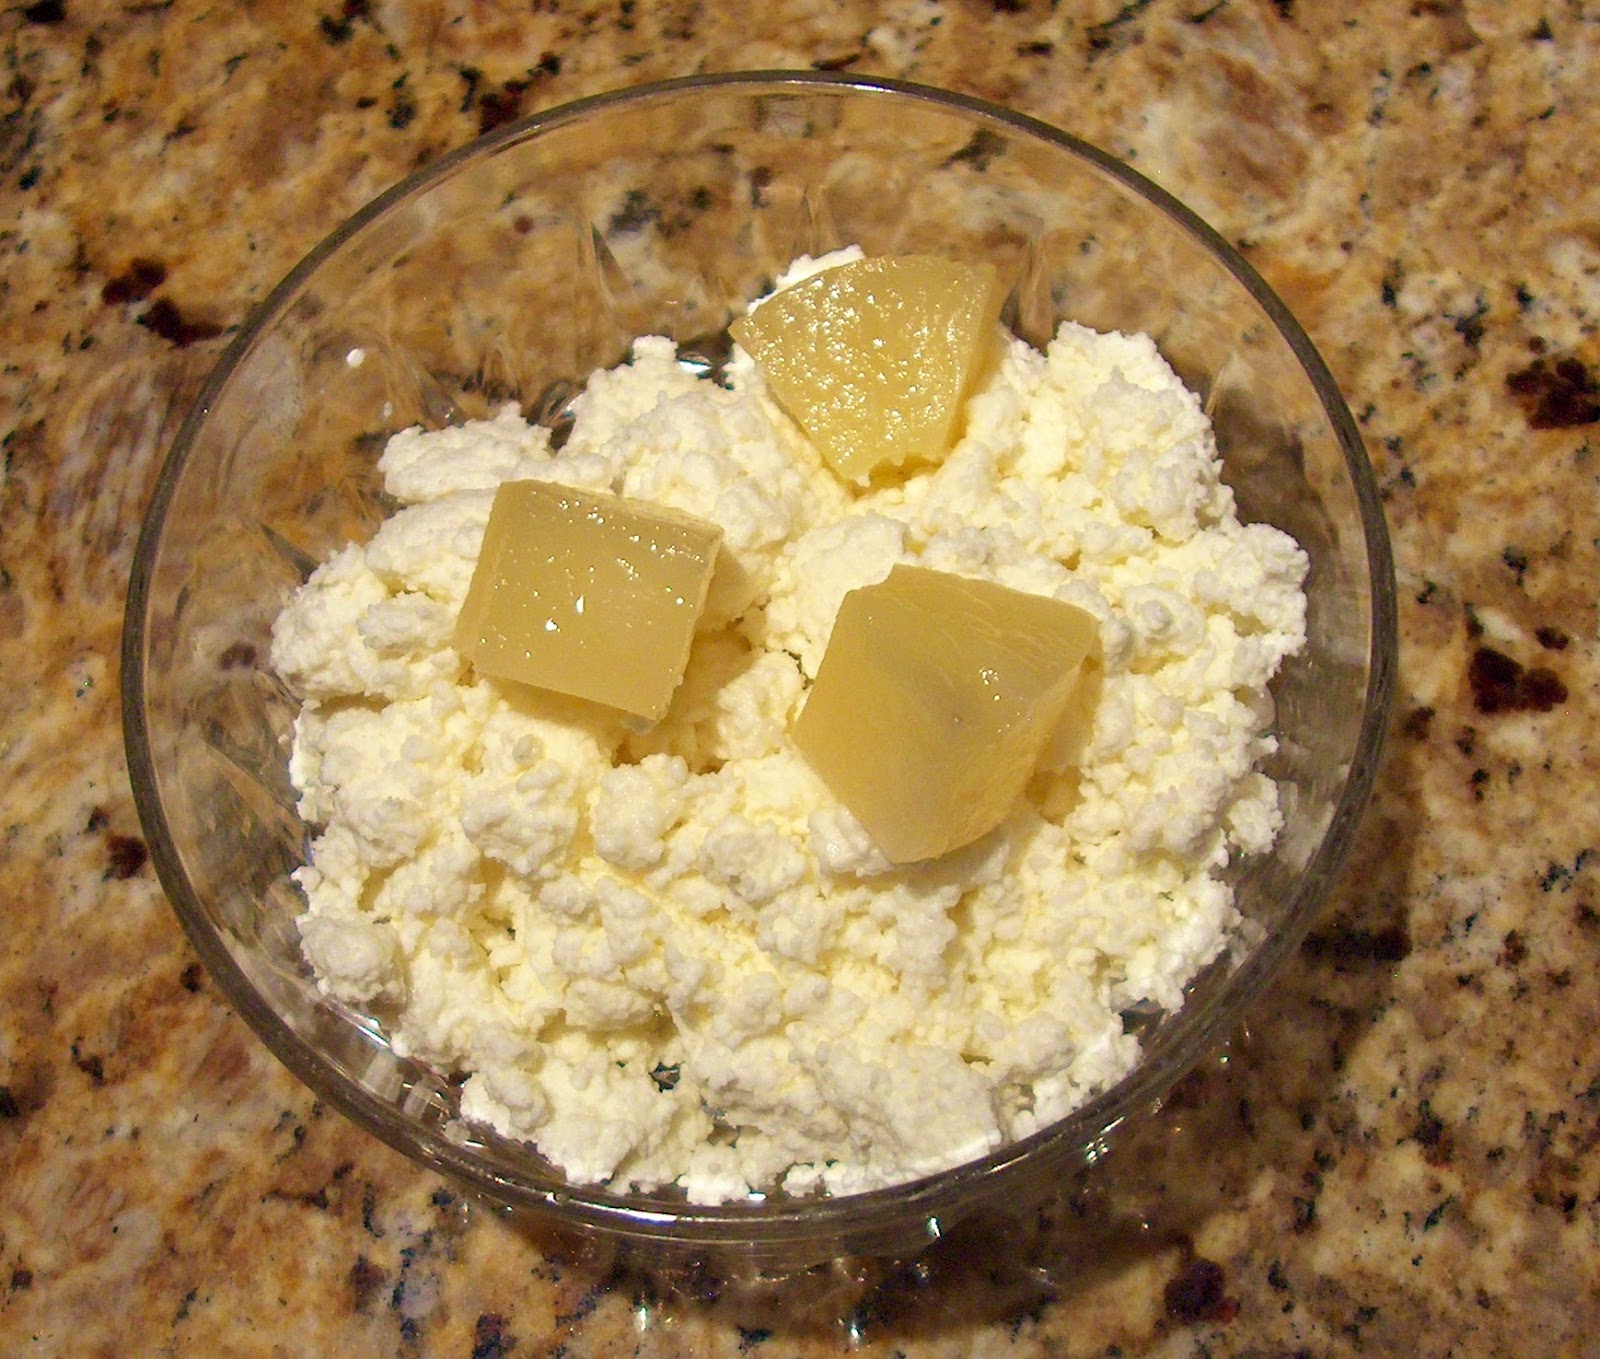 |
| I didn't add any cream as I wanted to taste it this way. It has a light consistency and a very mild flavor. Very fresh and wonderful served with pineapple chunks. |
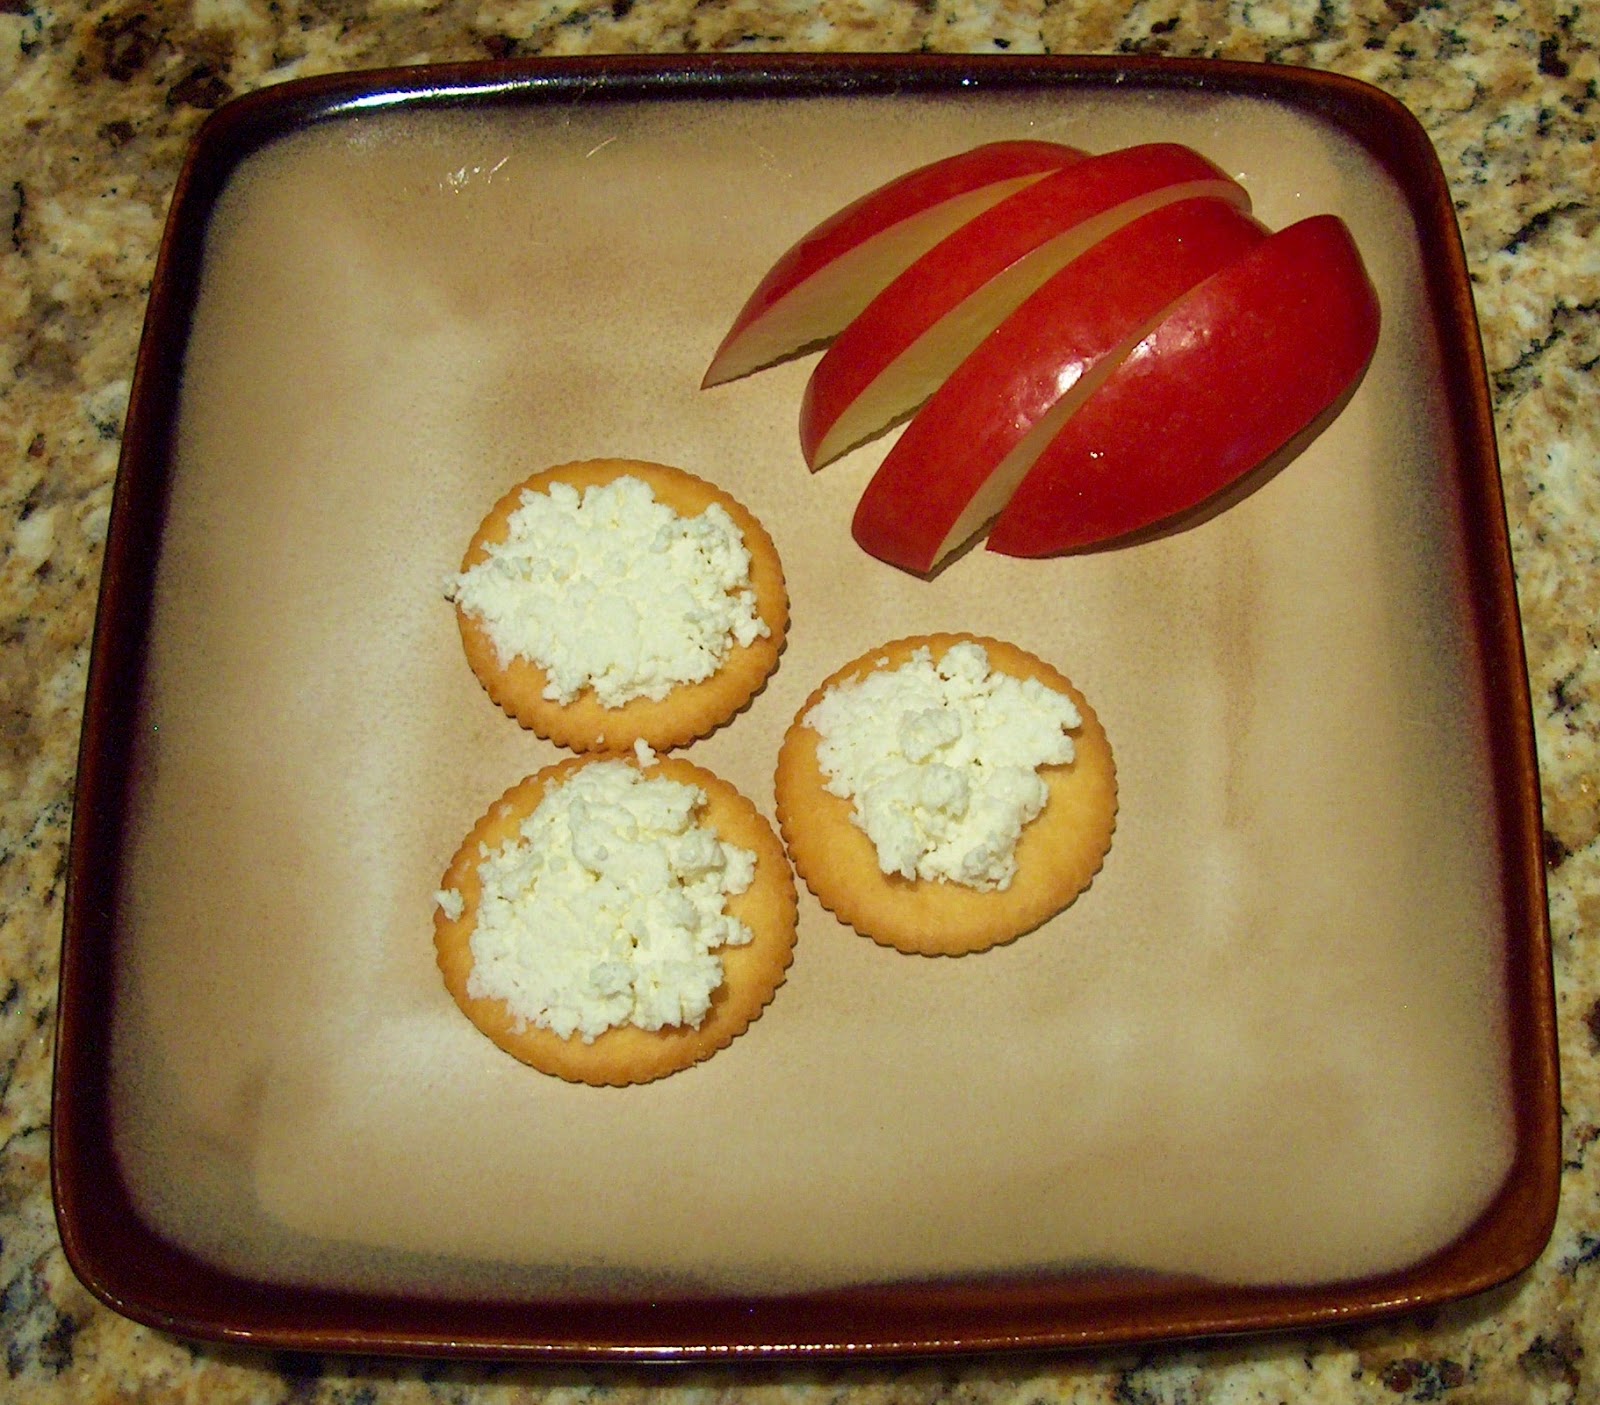 |
| Excellent spread on a cracker or an apple slice! |
It's a keeper!
Wishing you all love and great food!
Jeanette


